Showing posts with label Tutorial. Show all posts

Wednesday, April 17, 2013

Nail Art: Pastel & Dots with FOA


Image and video hosting by TinyPic

The difference in a nail look by just adding specks of glitter! This is an easy peasy look. Here I added orange hexagonal glitter pieces as an accent on my ring finger. I used Face of Australia's Orange You Glad You Came? and Castle in the Sky. They looked terrific all together.

My two tips. Face of Australia created such a lovely range of pastels, they look great mixed together. I'm pretty devo that the brand isn't around for me anymore, they are coming out with so many new products, I'm just admiring from afar. 

Tuesday, January 15, 2013

Nail Art: Birthday Nails for the Birthday Girl

First post for 2013. I turned 20 guys! I went on many food adventures that I spent with my favorite people.

What a better way to spend a snippet of my birthday than painting birthday nails?
I stuck to a bit of pastel and light colours.

Now without further adieu, I will show you how I did it!

Step 1:
 One strip of color half way down your nail

Step 2: The wick
With a stripper brush, a piece of hair, what ever works for ya, I dipped into my liquid liner (I know.. it worked though okay...) and made a little strip.

Step 3: The flame
Make a little tear drop thing

Step 4: Making the flame look more like a flame
 Now a yellow mini tear drop thing!

Step 5: Candy stripes 
White stripes across each little block of colour and a clear coat on top. I was admiring my nails at dinner at Chefs Gallery.

And those are my birthday nails. After my birthday week, I scraped off the flames. Hehe.

Check out my food blog if you please - Meet and Eats.


Tuesday, November 6, 2012

Nails: Tutorial - White Weaves on Rimmel's Misty Jade

Hi!

I've always thought Rim's Misty Jade as a bit dark... Looking to brighten it up with some white here and there did just the trick!


Method:
1.
Two coats of Rimmel's Misty Jade

2. 
With a white stripper brush, or whatever you have, make lines as so:

Repeat with the rest of your nails.
And voila!

Instagrammed pic^ hehe


I hope you enjoyed this short post and you all enjoy the rest of your day! 

Saturday, October 20, 2012

How to: Candy Nail Striper Nails

I've always thought Mod About You was a bit boring on my tips. I decided to shnazz it up a bit more by adding stripes. Oh the difference its made!


Method:
Two coats of Mod About You

Grabbing a nail striper brush

The process:
Start with a line in the middle, and work your way out.

 Two nails done, ding ding!

 Looking good!

Au reviour!

Thursday, October 4, 2012

Colour Me In: Brown! - My everyday, barely there eyeshadow routine.

This Colour Me In series is a collection of posts where your beloved bloggers, Tram, Amanda, Tezza and myself will be posting about the selected shade from whatever we're able to gather from our beauty stash!

This week is brown! The first thing boring Alice thought of when she heard brown, was eyeshadow! My flash hasn't been working on my camera so I'm forever relying on daylight! To especially make sure I didn't wake up late and had time to create this post, I pulled an all nighter. Not a good idea... I'm on my fifth cup of caffeine with 5 hours left til' home sweet home and I've microslept twice. Ohhh, joy.

Okay so this post will be showing you how I create my everyday makeup look! Just a hint of brown, and it changes the whole look up!
I apply liquid liner on a daily basis. My eyes just look odd and incomplete without it now.

NYX Round Lipstick in Power!

Method:
 1. Bare n' primed lids

2. Apply a dash of brown on the outer corners and blend both sides 
(Can you see the line on my right eye? I blended the left side already!)

 3. Apply highlighter all over lids

4.  Liquid liner timmme!
 Yay for both eyes

And finitos!

Nothing fancy but I love it!

Check out Manda's post for bronze powder, Trammie supporting Aussie brands showing you three affordable bronzers and Tez with brown circle lenses (in her eyes -inside joke lol).

Thursday, September 20, 2012

Colour Me In: Blue! Eyeshadow Tutorial

Hi!

Once again, another post from the Colour Me In series and another eyeshadow tutorial!
I actually started with wanting to use other shades (white and purple) next to the blue before.... And recorded it... And it turned out to be a disaster. With 20 minutes til' I had to leave for work, I decided to stick to shades I was more comfortable with..


Starting with my bare face of course! (I woke up at 6:30 on this morning and slapped on some make up to record a video of the progress of growing green onions! Check out my post here)

I used my trusty Manly palette for this look. Never lets me down!

Method:
 1. Prime! Of course, I used my concealer all over my lids.

2.
 With a blue shade,
 Apply to outer corners, eccentuating at the crease.

3.
With a highlight,
 apply to inner corners and use it to blend

4.
Line your eyes

Annnd done!
 Meep

But really, all these looks that I strut in all my eyeshadow posts, I would not wear out haha.... They're just super fun to create!

Check out Tram's, Tez' n' Manda's posts for more blue goodness!

Sunday, September 9, 2012

Nails: Creating a Pink to Purple Gradient

I have a feeling there will be alot of gradient effects on my nails until I've used up all the colour combinations I think would look shnazzy...


Pastel pink > Darker pink > Dark plum shade

Sitting infront of my computer getting ready to study and I realised that I have not painted my nails in two days! So I hopped on over to my drawer and pulled out my recently purchased OPI in Mod About You and  swiped away. And for an even bigger reason to procrastinate, I didn't want to have plain jane nails so I decided to gradientify it with a few extra polishes.

L>R: OPI - Mod About You, Ulta3 - Strawberry Sundae & Ulta3 - Mulberry

Method:
(Check out this post for more pics of how I do my gradient nails too!)
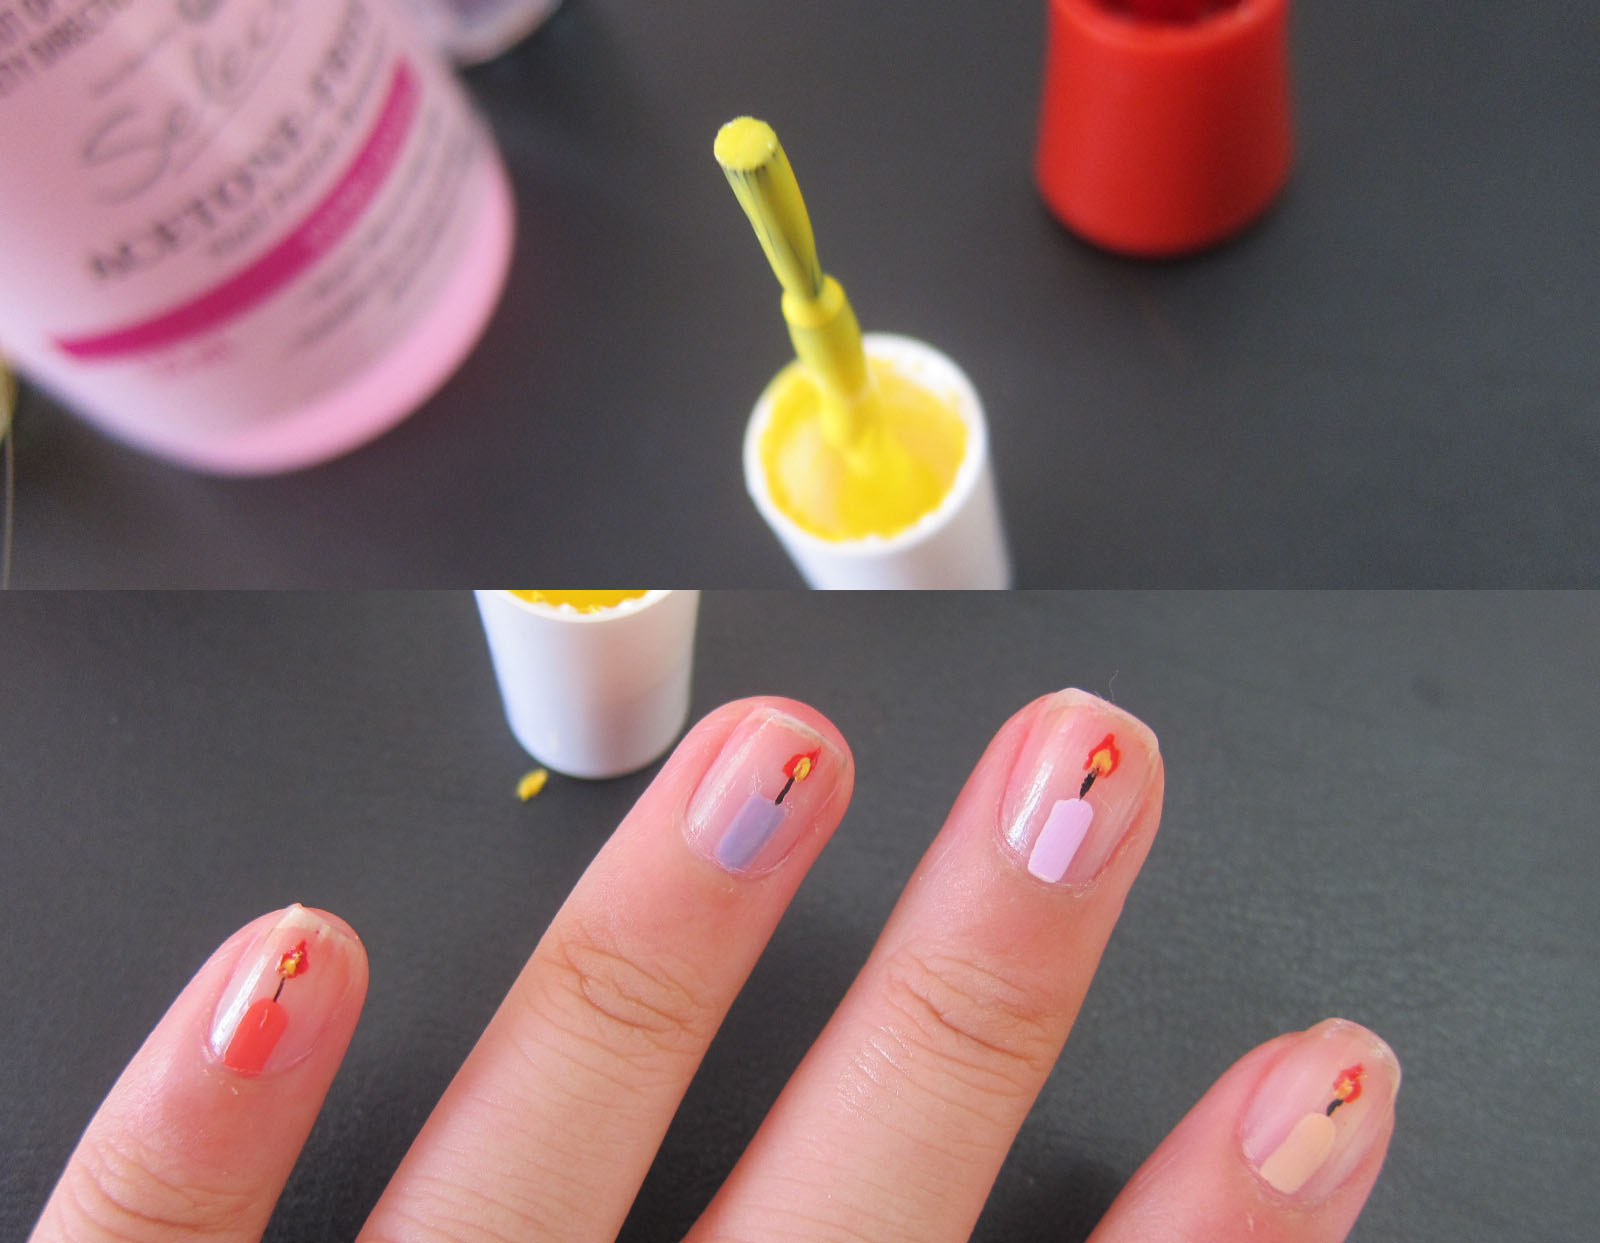
Mod about you! I never noticed this until I was editing this photo, but the plastic part of the nail brush has 'OPI' embossed on it! (Arrow pointing)
1. Two coats

Ulta3's Strawberry Sundae, a gorgeous pink but too kiddish on its own. 
2. Layer one - Sponge on 2/3 of the way down

3.  Layer two - Sponge 3/5 of the way down

4.  Layer three - Sponge 1/3 of the way down

I was going to leave it at this, but it was too nicki-minaj-y for me
 Ulta3's Mulberry. This is the shade I've been wearing on my toes since I purchased this nail polish (Over six months ago!)
5. Sponge lightly 1/2 of the way down, repeat until you reach the opacity you desire!

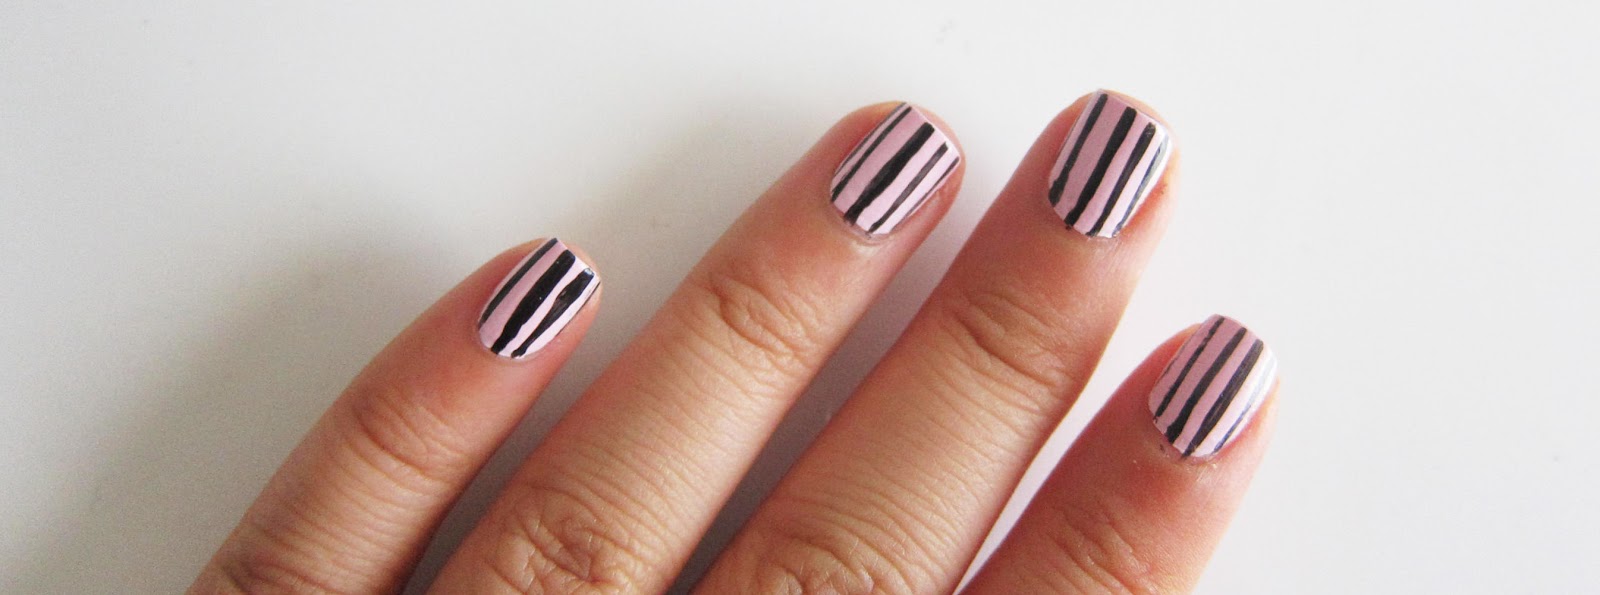
6. Clean up (Two days late of taking this pic...).. And Voila!

On my right hand I decided to skip the pink and went straight into Mulberry after two coats of Mod About You.
I like it!
Copyright © 2014 Arsyparsy